
Prep Walls for Painting Before Adding Wall Art
Posted by Michele Triplett on 30th Oct 2025
How to Prep Walls for Painting Before Adding Wall Art
Why Painting Prep Matters: Prepare your Tools, Materials, and Process
In this article we will cover the core concepts of wall preparation. The goal is that your children's ministry is ready to touch the hearts of the children you teach.
- Every great painting project begins long before the first brushstroke.
- Prep is the hidden hero that guarantees crisp lines, smooth walls, and satisfying results after you put up your new wall decals.
- Skipping prep means more mess, more frustration, and unnecessary work or avoidable fixes later.
The good news?
Prep doesn’t have to feel boring or time consuming. Think of it as the exciting foundation that makes your D.I.Y transformation possible. The better the prep for your wall decals, the more enjoyable the painting project will be.
Tools: Must-Have Gear for Clean Results
The right tools make every painting project easier and more enjoyable.
Painter’s tape is essential—keep both 2-inch and 1-inch rolls for baseboards, trim, and detailed edges. After assessing many brands, I recommend 3M painter’s tape. It sticks firmly, can be removed cleanly, and won’t damage wall texture.
Cheap tape may save a dollar but wastes hours fixing paint leaks and removing residue.
Using a drapery knife helps trim tape and paper with precise edges. You will want to choose the larger size—it is easier to manage and works for every project.
Don’t forget to add a simple flathead screwdriver to your list of supplies. You’ll need it for removing outlet covers and switch plates. Painting over your plastic plates results in chips and scraps and looks unprofessional over time.
Materials: Tarps, Paper, and Quality Paint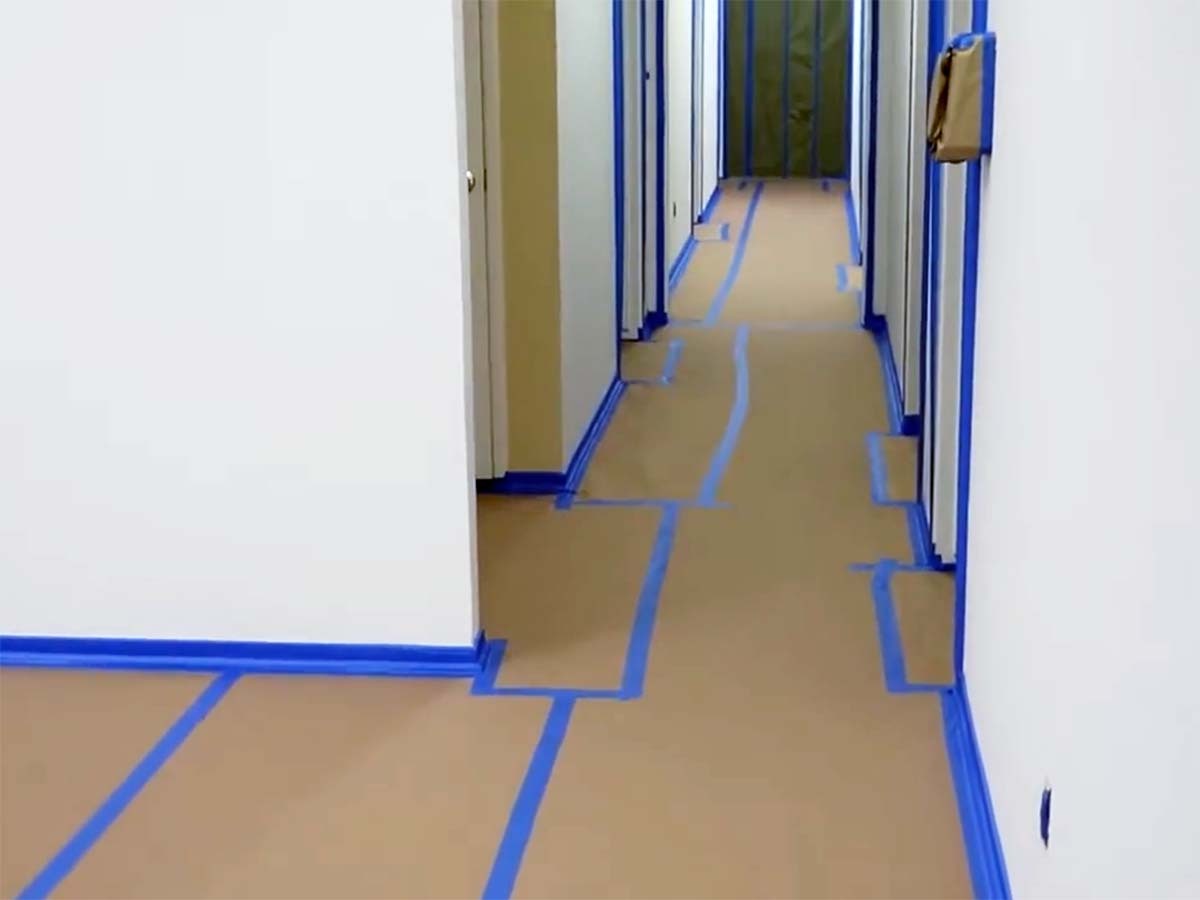
As much as your walls deserve some attention, your floors also need protection. Inevitably paint will splatter no matter how careful you are, so don’t skip protective coverings.
When it comes to floor coverings, I prefer four-by-twelve-foot tarps. They are lightweight, easy to place, and big enough for walls. I have found from experience that oversized tarps shift too much and quickly become trip hazards.
Be sure to look for tarps with non-slip backing. I have found that they stay safely in place on hardwood or tile floors, preventing dangerous slips during your project.
For hard flooring, I always laid down heavy-duty flooring paper as an affordable lifesaver. You don’t want paint spilling or dripping directly onto your hardwood. The rolls I buy are three feet wide and I lay down enough to protect entire rooms.
What to Consider When Choosing Paint
Types of interior paint include:
Latex (Water-Based) Paint
- Most common choice for indoor projects.
- Dries quickly, has low odor, and cleans up with soap and water.
- Good for walls, ceilings, and most rooms.
- Eco-friendlier with low or no VOC (volatile organic compounds) options.
Acrylic Paint
- A subtype of water-based paint with extra durability and flexibility.
- Resists cracking and fading better than standard latex.
- Great for high-traffic areas like hallways, kitchens, and bathrooms.
Oil-Based Paint
- Less common now, but very durable and smooth.
- Excellent for trim, doors, and cabinets where toughness matters.
- It takes longer to dry and requires mineral spirits/turpentine for cleanup.
- Strong odor and higher VOCs.
Types of paint finishes (sheen levels)include:
The type of finish you choose will determine how shiny and durable the surface will look and feel.
Flat/Matte
- No shine hides imperfections well.
- Best for ceilings or low-traffic areas.
- It is harder to clean.
Eggshell
- Soft, low sheen with a velvety look.
- More washable than flat.
- Popular choice for living rooms and bedrooms.
Satin
- Subtle shine, smooth finish, easier to clean.
- Works well in hallways, kitchens, and kids’ rooms.
Semi-Gloss
- Noticeable shine, highly durable and scrubbable.
- Perfect for bathrooms, kitchens, trims, and doors.
Gloss/High-Gloss
- Very shiny, almost reflective.
- Super durable and easy to clean.
- It shows wall imperfections but excellent for cabinetry, trim, or furniture.
Sherwin-Williams Semi-gloss latex paint is my go-to because it offers consistent coverage, rich color, and a smooth professional finish with fewer coats.
Painting Process: Step-by-Step Prep That Works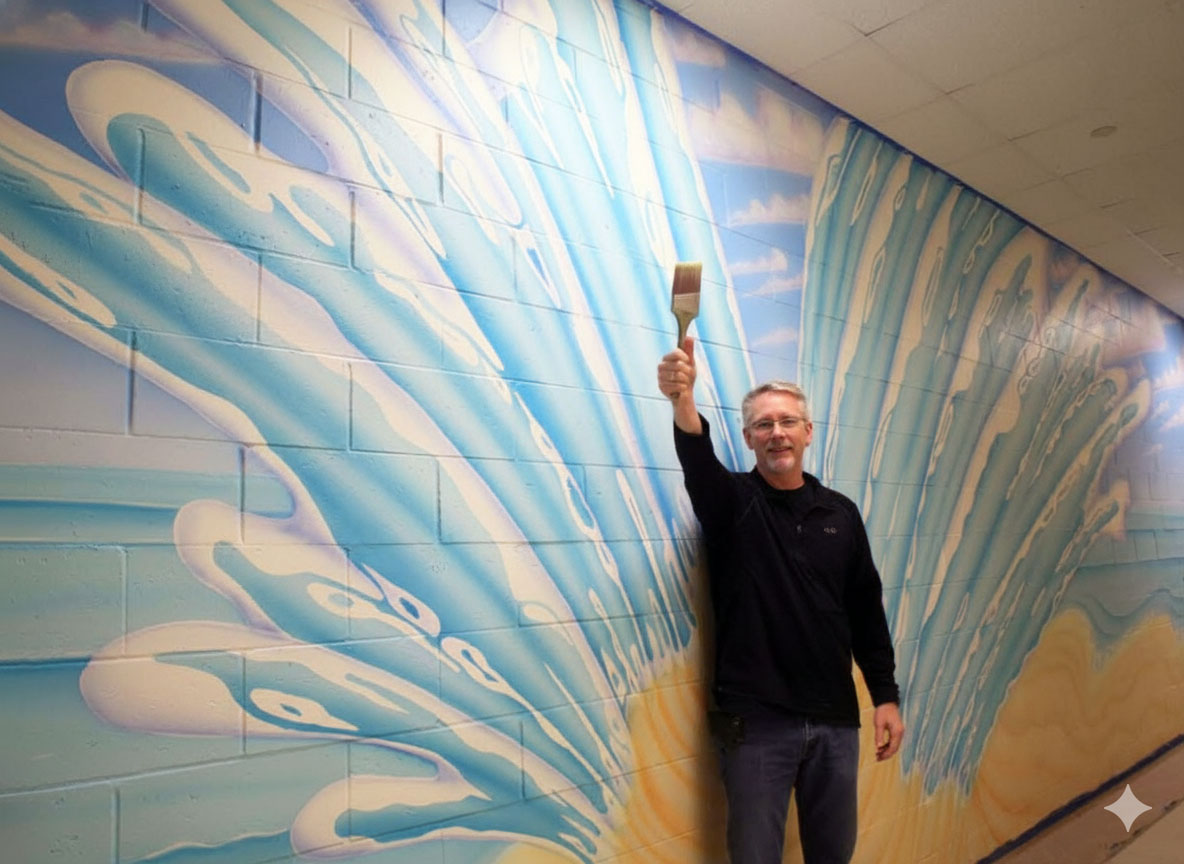
Now that you have your supplies, here’s a process that works every time.
- Clear the space. Move what can be removed, cover what can’t be removed, and give yourself room to work comfortably.
- Remove covers. Take off outlet covers, switch plates, and wall-mounted objects like extinguishers or sanitizer stations.
- Dust trim. Dust prevents tape from sticking properly, so wipe surfaces before applying tape.
- Tape smart. Use a tape-and-paper dispenser to cover baseboards and trim quickly while protecting nearby surfaces.
- Protect floors. Roll out flooring paper or tarps, then tape the edges to stop movement or bunching.
- Check everything. Walk around the room to confirm all edges are sealed tightly. Once prepped, take a step back and enjoy the clean, ready-to-paint space.
Pro Tips: Smarter Prep, Better Results
Here are a few tricks to make your prep even stronger:
- Tape your tarps. Even non-slip tarps shift slightly. Secure them with tape for extra safety.
- Work top to bottom. Protect trim and baseboards before covering floors. Gravity guarantees drips fall downward.
- Keep rags nearby. Wipe dust, smudges, or wet paint quickly before it causes problems.
- Stay energized. Play music, take breaks, and treat prep like an exciting step toward transformation.
This may seem overwhelming, keep reminding yourself that great prep isn’t wasted effort, it’s what separates sloppy results from professional-looking walls. Check out our before and after Kid's Church wall makeovers.
Don’t Leave Those Walls Bare and Boring!
After your paint has been cured for 30 days it’s time to turn your beautifully painted backdrop into a life size visual teaching tool. At Creative For Kids, we create wall decals and banners that bring God’s story to life.
They’re the perfect visual teaching tools for freshly painted walls in classrooms, churches, Schools, or homes.
D.I.Y. Painters can Achieve Professional Results
Remember: great painting projects don’t start with paint—they start with preparation.
Every D.I.Y. painter can achieve professional results with the right tools, materials, process, and mindset. The key thing to remember is that prep time always pays off. It saves you from making mistakes, protects your urfaces, and creates walls you’ll love for years.